Monday, February 24, 2014

"Well, Hello There," she said blushing coquettishly...

Warning!! Long Post!!  Grab a cuppa and have a browse!

I've been absent from blogland, but with good reason.  It's been another busy month - I have no idea where it went!  February absolutely flew by.  This month, I've been skiing, in Ottawa for fun to visit my brother, in London for work but also managed to visit my parents (that was a 2100 km week of driving!!  Whew!!), and this coming week I will be absent from blogland again for a few days because of another road trip for work.  I am super happy to report that despite all this travel, I have been sewing!!

I've finished two-thirds of my first three pack of The Blushing Coquette, my Spring 2014 SWAP (post on planning can be seen here).  As a result, I can also offer you a Pattern Review!!

Pattern Review for McCalls  6436
M6436

Pattern Description:  According to McCall's website:
MISSES'/WOMEN'S SHIRTS: Loose fitting, front and back darts and front band. A: Epaulets, loops, pockets with stitched pleat and flaps. B: Pockets and flaps. C: Pockets with inverted pleat and flaps. B, C, D: Collar, collar band and pleated two piece sleeve. 

Pattern Sizing: 8-16 with A/B, C, D cup sizes, and 18W-24W, with C/D to DD-DDD cup sizes.  I made the size 16 with D cup fronts.

Did it look like the photo/drawing on the pattern envelope once you were done sewing with it? I made view D with long sleeves and without the pockets.  I think it does look like the pattern photo and line drawings.


Apparently this wrinkles after being tucked in.  My bad for photo styling points
Line Art
www.mccallspatterns.com


Were the instructions easy to follow?  Yes, they were very easy to follow.

What did you particularly like or dislike about the pattern?  This is a great pattern for basic shirt or blouse.  I particularly like that I don't have to do the FBA adjustment, it's already done for you!  Another thing I love is the two piece sleeve!  I have gym-sized upper arms (LOL), and my sleeve patterns often need to be adjusted to accommodate this - this pattern doesn't need it.  It also eliminates the continuous lap that is needed to finish a standard vent on a one piece sleeve.

Fabric Used: The pattern recommends lightweight woven fabrics, including crepe de chine, challis, charmeuse and lace.  I used a very light weight polyester satin-backed crepe with the shiny side out.

Pattern alterations or any design changes you made:  I did my standard 1/2" sway back adjustment, so I also added a centre back seam to accommodate this.  I lengthened the sleeves by 1" and I shortened the shirt by 4" after trying it on for the first fitting.

Next time, I will cut the front side seam on size smaller as it was a bit too "blousy," and I will shorten the sleeve cap by one size (i.e. cut out the size 14 on the top of the sleeve instead of the 16).  This is to reduce the amount of fabric that needs to be eased into the armhole, and help reduce the inevitable puckering that I experienced with this slippery fabric.


Would you sew it again? Would you recommend it to others?  I would definitely sew this again, in fact, I have already cut another shirt/blouse out on the weekend - this time in the same fabric except a grey colourway.

I would also like to draw your attention to the lovely pink skirt that you see on the dressform above.  I finished it this weekend as well.  It is a self-drafted pattern out of a high quality pink polyester crepe that was absolutely lovely to work with.  I hesitate to admit it, but I couldn't find the blush pink wool crepe I had planned on using in my voluminous stash that is threatening to overtake the basement, so I actually bought this fabric last week.  Yeah, it's sort of counter-productive, I know.  Buying fabric because you can't find the stash fabric you know you have because your stash is so big. Ahem. Artistic licence required the blush pink skirt.  So...anyways...back to the details.  It is lined with a Bemberg lining in a similar shade.  It's a knee length tapered pencil skirt with a front pleat detail, and "regular" lapped back zipper closure.  Here's a better view showing the front pleat detail.  I know, I know, the waistband looks a bit sloppy but that is because I have outgrown my dressform.


That just leaves me to finish this jacket in order to complete the first 3 pack...

Another fabulous cellphone pic

..as seen here, unlined and rumpled after being toted around in a sack while looking for the perfect lining and closure options.  I really must get my tripod issue sorted out so I can take better pictures for you!  The jacket is vintage (LOL) of a few years ago before My Great Sewing Hiatus.  I had cut it out, stitched it together and let it sit.  All it needs is the lining and the closures.  The issue now is it is a bit snug, but I think I can rectify that in a couple of ways:  1) by letting out each of the vertical seams a bit, and 2) by possibly using an exposed zipper closure on the front instead of buttons and buttonholes.  I have a few ideas, but it may take a while to track down the right zipper.

I have been really busy with both work and life in general, but I have been finding time to get my sewing "fix" in by leaving my sewing room a bit of a disaster so I can sit down and do the next step right away.  When I'm done, I turn off the machines, shut off the lights and just close the door, leaving everything ready for sewing at the next moment's notice. I'm fortunate enough to be able to do that!  Just today I spent half an hour this morning cutting interfacing and fusing it to my next blouse project (I woke up early), and another 15 minutes stitching the darts.  At lunch, I went home and spent 45 minutes stitching the blouse together, and attaching the front bands.  Not much more sewing in my near future...at least until sewing class starts again on Saturday!

Thursday, February 13, 2014

The Blushing Coquette in Spring 2014

So...my coat is finished, and I have a few other projects already cut out.  But I have not done any sewing since finishing the coat.  Absolutely none.  I just haven't had the time!  Between work, skiing, and various appointments, I just haven't gotten to L'Atelier.  And let me tell you, the Mojo has been running high!!

So, what's a frustrated sewist to do?  Why, daydream and plan of course!  I don't know about you but I'm starting to get a little sick of winter, and I'm thinking we've still got a ways to go.  I'm dreaming of spring.  Yeah, I still need another winter coat, but my thoughts are turning to spring colours and what I need for a spring wardrobe.

Strangely enough, my thoughts have turned to a soft pink, almost a blush pink colour.  Keep in mind I've never been really much of a pink fan (other than for lingerie, babies and little girls), so I'm not sure where this is coming from - maybe I'm being subconsciously brainwashed by all the articles on pastels being a big trend for spring!  Anyways...I'm formulating a plan with this soft pink colour, varying shades of grey and cream.

I've been a long time fan of the SWAP (or Sewing with a Plan) that appeared EONS ago in Australian Stitches magazine.  Artisan Square is having a contest (SWAP 2014 Official Rules), though if I join, it will be a sure recipe for me not to be successful (LOL), so I will only unofficially join - Purpose without Pressure.  The rules for this contest are as follows:

Sew 3 "3 packs" and 2 "wild cards" for 11 garments

Each three pack will consist of the following:

2 tops and 1 bottom
OR
1 top and 1 bottom and 1 outer layer
OR
1 dress and 1 top and 1 bottom

This gives a LOT of flexibility in planning!  I think I will do one of each three pack plus the two additional garments.  For my first Three Pack, I will work on the 1 top, 1 bottom and 1 outer layer three pack.

Garment 1A - One Outer Layer I already have a pink and grey houndstooth check jacket in progress, so I think I will be using that for my outer layer. It's the Nancy Erikson Fashion Sewing Group jacket pattern, which I've made numerous times before.

http://www.fashionsewing.com/1945C.htm
Garment 1B - One Bottom - a self-drafted pencil skirt in soft pink to coordinate with the houndstooth jacket (I'm almost 100% certain I have a soft pink wool crepe somewhere in my stash - the trick will be to find it!!)

Garment 1C - One Top - McCalls 6436, view D in blush pink very lightweight satin back crepe.  I'm debating about which side to use right side out (shiny vs matte).

Line Art
McCalls 6436 http://mccallpattern.mccall.com

For the second Three Pack, I will be working on the "1 dress and 1 top and 1 bottom" three pack.

Garment 2A - One Dress, OOP Vogue 8593, grey doubleknit

Line Art

Garment 2B - One Top - Blouse, Vogue 8772 in medium grey lightweight satin backed crepe, View D, with detachable bow, collar and cuffs in satin side out, and body in matte side out
Line Art
Garment 2C - One Bottom - Skirt from Vogue 8672, in grey wool (view to be determined)

Line Art

Third Three Pack - 2 tops and 1 bottom

Garment 3A  - One Top - Vogue 9771 in lightweight cream satin back crepe

Line Art

Garment 3B - Second Top - McCalls 6841, view C in Cream lightweight sweater knit

Line Art

Garment 3C - One Bottom - self drafted cream pencil skirt with cream faux ostrich skin accents

Two Wild Card Garments

Garment WC-A - Cardigan from M6844 view C in cream sweaterknit

Line Art
http://mccallpattern.mccall.com
Garment WC-B - Dress, Vogue 1183 in midweight cream poly crepe

Line Art
http://voguepatterns.mccall.com/
 
There you have it, The Blushing Coquette in Spring 2014.  Now to find the time to put these dreams into action!

Friday, February 7, 2014

How to Stay Warm in the Polar Vortex or FO and Pattern Review Vogue 2472

I'm done!  Hooray!!  This coat was pretty easy to put together, and I'm really happy with the outcome.

Here are the details and pattern review for Vogue 2472:


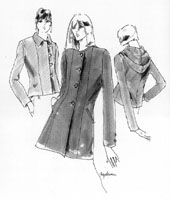
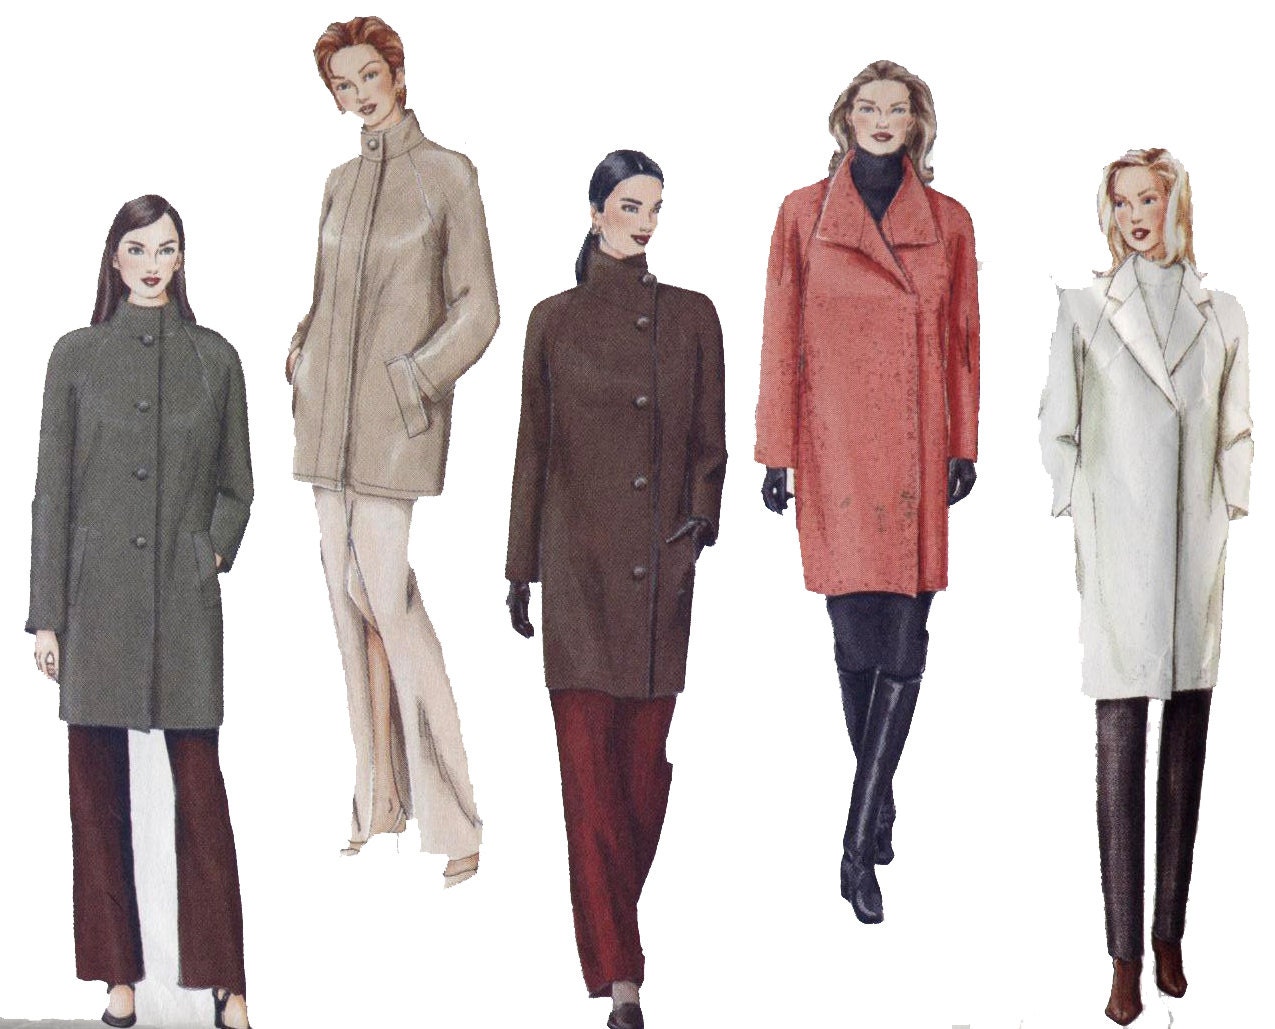
Pattern Description: Women's loose fitting coat with raglan sleeves and pockets, and options for the front closures and collar.

Pattern Sizing: Misses sizing, I made Size 14.

Did it look like the photo/drawing on the pattern envelope once you were done sewing with it? Yes.  I made view C, which has the offset closures and side seam pockets.


Vogue Pattern 2472 Basic Design Misses' Petite Coat


Were the instructions easy to follow?  The instructions were so easy to follow, I didn't really refer to them aside from glancing at them in the beginning.  This proved problematic for me when I was inserting the lining because the instructions indicate I should have stitched the front facing to the side front lining before attaching the sleeve lining, and I barged ahead in my usual fashion and assembled all the lining pieces before attaching to the facing.  A few ripped seams and we were back on track.

What did you particularly like or dislike about the pattern?  This is a quick pattern to put together, and I LOVE the collar.  It helps block the winter winds!  The body of the coat is a bit bulkier than I normally would wear, but I left it as is for this version.  I suggest trying it on as you are sewing to see whether you're comfortable with the sizing.

I also really liked that there are darts on the tops of the sleeves to help with the shaping of the raglan style shoulder.

Fabric Used: For the exterior layer - a short pile faux fur with a design in the nap.  I used Kasha lining, which is a heavier weight lining with a brushed flannel backing, and I also used a flannelette for an interlining to add a layer of warmth without bulk.  I also used a sew-in interfacing rather than my "usual" iron on interfacing as I wasn't sure what would happen to the fur if it got heavily pressed.

I have noticed though that the faux fur is EXTREMELY static-y.  I wonder how I can help prevent this, I'm collecting dog hair like crazy!! I'm open to suggestions!!


Pattern alterations or any design changes you made:  I added an interlining, for this version I used a flannelette that I found on sale.  I cut the flannelette from the lining pieces included with the pattern but I cut them about 1-1/2" shorter than the lining pattern pieces. I assembled the interlining exactly as I did the lining.  This was then basted to the lining pieces at the neck, at the front facings and tacked at the underarms, but left loose at the bottom hem of the coat and the sleeve hems.

I did this to add an extra layer of warmth for the cold winters we typically experience where I live.  I realized that this coat will likely be worn when I go out for the evening and typically my "evening out" outfits are less warm and less layered than my office wear.

I also added about 2" of length to the sleeves to accommodate my longer arms.  And for the closures, I used oversized snaps in black instead of buttons.

Otherwise, I sewed this "as is" from the envelope.

Would you sew it again? Would you recommend it to others?  Yes, I'm planning on sewing this again in a wool flannel fabric to wear for day wear.


Conclusion: A great coat pattern that is easy to assemble, with lots of design options.  The basic design turns glamorous depending on your fabric choice!

Tuesday, February 4, 2014

FO and Pattern Review Vogue 9771

Sooooo...I was "supposed" to be working on my WIP Faux Fur Coat, but I needed to buy interlining in order to keep sewing on it.  I did in fact find some lovely green flannelette (I was tempted to get the one with the crazy print because no one but me would know it was there, but it wasn't on sale).  But, I had forgotten that I needed to pretreat the flannelette, and washing and drying a quantity of it takes time.  Soooo...while I was waiting for the interlining to be done, I cut and sewed this:

Vogue 9771

V9771
www.voguepatterns.mccall.com

Pattern Description: Semi-fitted, pullover top has bias front and back, and short or long sleeves. C: sleeveless.  I would add that it obviously has a cowl neckline at the front.  I made View B with the long sleeves.

Pattern Sizing:  6-8-10, 12-14-16, 18-20-22  I made size 16, which is my standard Vogue size.

Did it look like the photo/drawing on the pattern envelope once you were done sewing with it?  Yes, it does.
Front Vogue 9771

Were the instructions easy to follow?  The instructions were very easy to follow.  I only glanced at them though, as this is pretty simple to put together.

What did you particularly like or dislike about the pattern?  I love the drape of the cowl when cut on the bias.  It is certainly a feminine flattering blouse.  I was worried it would be a bit dated or matronly, but I don't think it turned out that way at all (even in my poly fabric!).

Fabric Used:  Some type of lightweight poly woven that my mom gave me when she was culling her stash of fashion fabrics.

Side View Vogue 9771
Pattern alterations or any design changes you made:  I did a cheater  FBA by bumping out the side seams at the bustline by about 1/2".  I figured that the bias cut would help the fabric ease around the bustline.  I think next time I will have to add some width to the sleeves to accommodate my muscular biceps and forearms as they are a little tight.

Back view Vogue 9771
Would you sew it again? Would you recommend it to others?  I am going to sew it again - it took less time to sew than to cut out, and there were only four pieces!  I think that I will be sewing all versions for the upcoming spring season.

Conclusion:  A great quick and easy top that is pretty and feminine.


Monday, February 3, 2014

I Want to Sew All the Things (or Sewing ADD)

As much as I love the process of sewing, I love the process of planning and cutting out more.  This is a problem because it leaves me with piles of things I've cut out that need to be sewn, as well as piles of patterns and Burda magazines around the house.  This is also the reason why I end up sewing on winter clothing in the summer, or vice versa.  I guess one way to look at this is that I'm planning ahead!

In my mind, I've been sewing up a storm.  I have some distinctive holes in my wardrobe, particularly where my basics are concerned.  I need shirts and blouses - basic ones, like white and black and cream.  I need some new black trousers.  I also need a new plain black pencil skirt and a black jacket.  Come to think of it, I really don't have an LBD either.  And spring is approaching (at some point, though it is hard to imagine with four feet of snow on the ground), and I'll need some updated floral skirts and spring dresses for work, and some lighter-weight pants/capris/shorts.

In reality, though, I'm sewing a faux fur coat.  Yeah, I do need a new winter coat, but a faux fur one for every day?  And after that I want to sew some menswear inspired dresses.  And maybe some lingerie.  Nothing at all basic about these items.

I've been known to come up with a few SWAP plans in my day, but I don't know that I've ever really fully completed any of them.  I think for late winter (because the groundhogs have said there's at least 6 weeks left!), I need to work on a SWAP plan that is full of basics with some fun pieces thrown in.

So...my plan for the present is this:  Work on one item that has already been cut out (typically NOT a basic!), then work on one basic.  That's the plan.  Whether I can stick to it or not is a good question.  I'm already spinning off onto a SWAP plan for the basics.  And I'm thinking I can make basics glamorous...

Sewing Mojo Update (Weekend Wrap Up)

I am thoroughly enjoying the burst of sewing mojo I've had recently.  I am trying to get in a bit of sewing every day.  Of course, that doesn't always happen, but boy, the results when you try!!

I am currently working on a coat from Vogue 2472 (I think it is OOP).  It is a raglan sleeve coat, I'm working on View C with a large stand-up collar, and offset closures.

Sorry for the sideways shot - no matter what I do, the
techno-gremlins keep turning the photo!


It is out of a short pile faux fur fabric with an interesting design that is from the change in nap that I purchased at my local Fabricland (November/December 2013?).  I hand-stitched the sew-in interfacing in last week, and stitched the coat and lining together yesterday.  I am putting an interlining layer in for warmth (I'm thinking of flannelette), but I have to search some fabric for it out at my LFS tonight (can you believe I have absolutely nothing in my stash!!?!).   I'm lining it with Kasha lining (a heavier weight lining with a brushed almost flannel type backing).  This won't be an every day coat, but when I do wear it for an evening out, I will most likely not be wearing something overly warm underneath!

So...tonight after work, I'm heading to my local Fabricland.  Hopefully I will restrain myself from purchasing any new fabrics (other than the interlining)...my sewing studio is being over run by bins and piles!!